WARNING: You must use the correct cables with the IDSS module. Do not modify the cables in any way. Ensure all connections are correct and secure prior to using the IDSS program.
NOTE: Install the Isuzu Diagnostic Service System (IDSS) software before connecting the IDSS Interface Device to the PC. The IDSS program will not properly install if the IDSS Interface Device is connected to the PC during installation. There are different connection methods depending on Diagnostic use or Reflash use for E-IDSS. In addition, there are connection methods for 24V system use and 12V system use. Please use the correct connection method dependent on usage.
Before IDSS can be used to diagnose a vehicle, the following system components must be connected together:
Laptop PC that has IDSS program installed
IDSS Interface Device
Powertrain Adapter
USB Cable
DLC Cable
Appropriate power supply (12V or 24 V)
Appropriate battery cable (only used when power is supplied from a battery)
Connect the USB Cable to the computer
Connect the USB Cable to the IDSS Interface Device
Connect the Powertrain Adapter to the IDSS Interface Device
Connect the DLC Cable to the Powertrain Adapter
Connect the Powertrain Adapter to the appropriate power supply and battery cable (12V or 24V)
Connect the DLC Cable to the vehicle
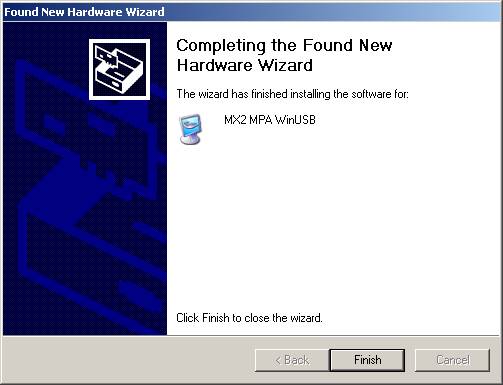
When the USB is connected to the computer it will launch the Found New Hardware Install Wizard. Follow the on screen installation instructions:
Properly Connected MX2 through USB
.jpg)
Connection of MX2 through PTA to Tier 3 Module.
Note: A Tier 3 cable is used in this example, but the
same type of connection would be used for a Tier 4
cable that is connected to a Tier 4 module.